
Short answer
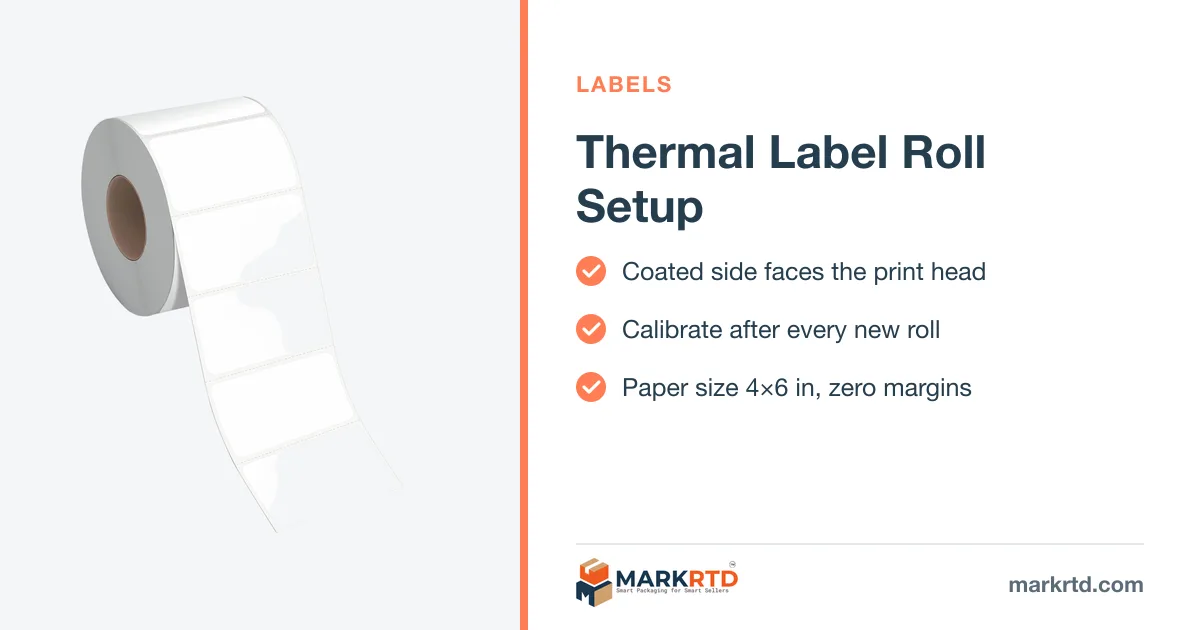
To set up a thermal label roll: load it with the shiny print side facing up toward the print head, slide the guides against the roll edges, close the lid and run the printer’s calibration so it finds the gap between labels. Then set the paper size in the printer driver to the label size, such as 4 × 6 inch (100 × 150 mm), with margins at zero. Most blank, skipping or off-centre labels come from a roll loaded the wrong way or a skipped calibration.
A new thermal printer and a new roll, and the first label comes out blank. Or it prints half on one label and half on the next. Or it skips three labels every time. This is the most common thermal printer problem, and it's almost never a faulty printer. It's the setup.
These steps work for most desktop 4x6 printers (TVS, TSC, Zebra, Honeywell, Xprinter, HPRT and others). The button names differ a little, so keep your printer's manual handy.
Step 1: Check which side prints
Direct thermal labels only print on one side, the coated side. Scratch the label quickly with a fingernail: the side that leaves a dark mark is the print side. That side must face the print head, which on most desktop printers means facing up as it comes out.
A blank label with a working printer almost always means the roll is in upside down.
Step 2: Load the roll
- Open the lid and put the roll on the roll holder, so labels come off the bottom or top as your printer's diagram shows.
- Pull a few labels through, under the guides and over the platen roller (the rubber roller at the front).
- Slide the side guides in until they just touch the roll edges. Too loose and labels drift sideways, too tight and they jam.
- Close the lid firmly until it clicks.
Check the core size before buying rolls. Most desktop printers take 1 inch (25 mm) cores. A 3 inch core roll will not fit the holder of a small printer.
Step 3: Calibrate the gap sensor
Labels on a roll have a small gap between them (or a black mark on the back). The printer's sensor uses this to know where each label starts. After you load a new roll or change label size, run calibration:
- On many printers: hold the feed button until the light blinks and release. The printer feeds a few labels and stops at the start of the next one.
- Some printers calibrate automatically when you close the lid.
- Or use the "calibrate" option in the printer's settings tool on your computer.
If the printer feeds endlessly without stopping, the sensor is set to the wrong media type (gap vs black mark vs continuous). Change it in the printer settings tool.
Step 4: Set the paper size in the driver
This step fixes most "half label" and "label shrunk in the corner" problems.
- Open the printer's preferences (Printer properties → Preferences or Page setup).
- Create a paper size of 4 × 6 inch, or 100 × 150 mm, matching your roll.
- Set margins to zero and orientation to portrait.
- In the PDF print dialog, choose "Actual size" or 100% scale, not "Fit".
Marketplace label PDFs often come as A4 pages. Printing an A4 page onto a 4x6 label shrinks everything. Crop it first with the free shipping label cropper, which outputs exactly 4×6 or 3×5 labels.
Common problems and fixes
| Problem | Likely cause | Fix |
|---|---|---|
| Labels come out blank | Roll upside down, or thermal transfer labels without ribbon | Flip the roll; check it's a direct thermal roll |
| Prints across two labels | Not calibrated, or wrong paper size | Run calibration; set 4×6 paper size |
| Skips one or more labels | Paper size longer than the label, or sensor dirty | Fix paper size; clean sensor with a dry cloth |
| Print is faint | Low darkness, dirty print head, or old labels | Increase darkness a little; clean head with isopropyl alcohol |
| White lines through the barcode | Dirt or damage on the print head | Clean the head; if lines stay, the head may need replacing |
| Label off-centre | Guides loose, or margins not zero | Set guides; set zero margins |
Keep your printer running
- Clean the print head with an isopropyl alcohol swab every few rolls.
- Don't increase darkness to maximum. It wears the head faster.
- Store spare rolls in their packet, away from sunlight and heat. Direct thermal paper darkens in heat.
- Buy rolls with good adhesive. A label that peels off a polybag in transit is worse than a faint one.
Still choosing a printer? Read the 4x6 thermal label printer buying guide.
Shop the packaging in this guide
Free seller tools for this
Frequently asked questions
Why is my thermal printer printing blank labels?
Usually the roll is loaded upside down, so the coated side isn’t facing the print head. Scratch the label with a fingernail: the side that darkens must face the head.
How do I calibrate a thermal label printer?
On many printers, hold the feed button until the light blinks and release. The printer feeds a few labels to find the gap. Some printers calibrate when the lid closes, or from their settings tool.
Why does my label printer skip labels?
The paper size in the driver is longer than the label, or the gap sensor is dirty or set to the wrong media type. Fix the paper size and recalibrate.
What paper size should I set for 4x6 labels?
4 × 6 inch or 100 × 150 mm, portrait, zero margins, printed at actual size.
What core size do thermal label rolls use?
Desktop printers usually take 1 inch (25 mm) cores. Industrial printers often use 3 inch cores. Check your printer before buying.
Read next
- 4x6 Thermal Label Printer: A Buying Guide for Indian SellersHow to choose a 4x6 thermal label printer for Meesho, Flipkart and Amazon labels: direct thermal, 203 dpi, roll size, connection and running cost.
- Shipping Label Printer for Amazon Sellers in IndiaWhich label printer Amazon Easy Ship and Self Ship sellers in India need, how to print Amazon labels on 4x6 rolls, and where to stick them.
- Meesho Packaging Rules for Suppliers: What to Follow in 2026Meesho packaging rules for suppliers: branded packaging, polybag vs box, label placement, weight slabs and packing proof for wrong or missing product claims.